Product Shots on White Background: A Phone Setup That Gets Real #FFFFFF
A good product shot on a white background is your real product, lit evenly, on a background that reads as pure white (#FFFFFF, or RGB 255, 255, 255) right into the corners, with nothing else in the frame. You can get there with a phone, a window and a sheet of white card. The hard part is not the camera. It is that cameras are built to turn white into grey, and most cleanup tools quietly change the product while they fix the background.
This guide covers both problems in the order you hit them: the setup, the exposure, the cleanup and the check you should run before anything goes live.
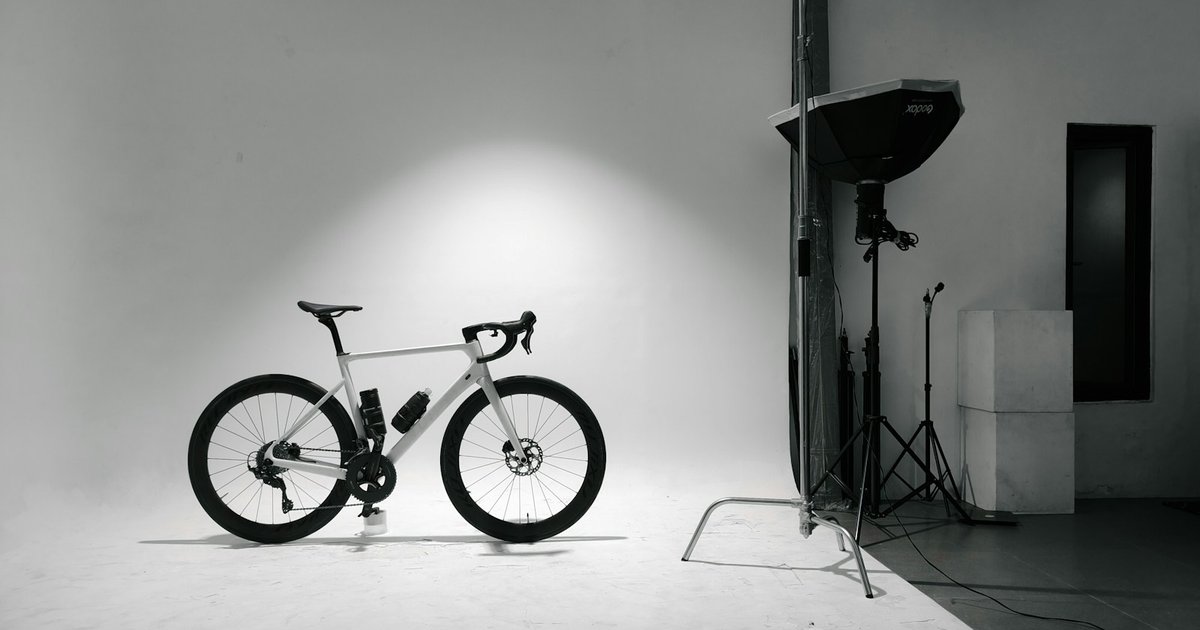
Photo by Rama Januartino on Unsplash
What marketplaces actually mean by “white background”
“White background” means different things depending on where the photo is going, and the strictest rule is the one that decides how much cleanup you need.
| Where it goes | What the white background has to be | What else matters |
|---|---|---|
| Amazon main image | Pure white, RGB 255, 255, 255, not “near white” | The product fills most of the frame (sellers usually work to about 85%); no text, logos, badges or props that are not in the box |
| Amazon secondary images | No white-background rule | Context, scale and close-ups are what these are for |
| Etsy | No white rule at all; many shops still use one clean white shot | Etsy’s help centre recommends photos at least 2000 px wide and tall |
| Your own Shopify store | Your choice | Consistency: every product on the same white, the same crop, the same shadow |
Marketplace rules change. Read Amazon’s image guide in Seller Central and Etsy’s photo help page before a big upload, and treat any blog post (this one included) as a summary, not the rulebook.
The practical upshot: if any of your photos are going to Amazon as a main image, shoot and clean everything to the Amazon standard. A photo that passes there works everywhere else.
The phone setup: a sweep, a window and a white card
You do not need a lightbox. You need three things that cost less than a takeaway.
- A sweep. A large sheet of white card or poster board, taped to a wall or a stack of books at the top and curved down onto the table so there is no horizon line behind the product. The curve is the whole trick: a hard corner between “wall” and “table” shows up as a grey line you will fight in every photo.
- Side light from a window. Put the sweep beside a large window, not in front of it, so the light hits the product from the side. Direct sun is too harsh; diffuse it with a thin white curtain or a sheet of baking paper taped over the glass. Overcast days are the easy days.
- A fill card. A second piece of white card on the side away from the window bounces light back into the shadows, so one side of the product does not go muddy.
Turn the room lights off. Mixed light (cool daylight from the window plus warm bulbs overhead) gives the white a blue tint on one side and a yellow one on the other, and no edit fully removes that without shifting the product’s colour too. Leave the flash off for the same reason.
Pull the product forward, away from the back of the sweep. The further it sits from the background, the less of its shadow lands on it and the easier the background is to push to white. Then step the phone back and zoom in a little rather than shooting close with the wide lens; a wide lens up close bends straight edges, and a box that looks bent reads as damaged.
Exposure: why your white background comes out grey
Your phone’s auto-exposure tries to make the whole scene an average mid-tone. A scene that is mostly white gets pulled down towards grey, so the background comes out a dull light grey and the product comes out dark.
The fix is to overrule it:
- Tap the product to focus, then drag the exposure slider up until the background looks almost white on screen.
- Stop before the product’s own highlights blow out. A white or shiny product is the limit here: if its edges start to disappear into the background, you have gone too far.
- Lock focus and exposure (a long press does this on most phones) so it does not reset between shots, and keep every shot of a set at the same setting.
You are aiming for a background that is close to white straight out of the camera, not one that is already 255. Getting the last few percent in an edit is easy; rescuing detail that was clipped in the shot is not possible.
Cleanup: from near-white to pure white without touching the product
There are two ways to finish the job, and they fail in different places.
Push the background. Raise the white point (Levels or Curves in any editor) until the background reads 255, 255, 255. On a clean sweep shot this is fast and honest, because the product is barely touched. It breaks on white or pale products, which go with the background.
Cut out and place. Remove the background and put the product on a pure white canvas. It works for any product but leaves traces: a pale halo around the edges, fuzzy hair or fabric cut too sharply, and glass or clear plastic that turns solid. A faint contact shadow under the product keeps it from looking pasted on.
AI tools do the cut-out step in one go, and that is where the real risk sits. An image model asked to “put this on white” sometimes repaints the product while it is at it: a colour shifts a shade, the letters in a logo drift, a chain link bends. On a listing that is not a cosmetic issue. The buyer receives something that does not match the photo, and the cost comes back as returns and reviews.
That risk is the problem AI Product Studio is built around. Its “Just clean photos” option exports one strict pure-white, centred, 2000px image, and its Bulk clean-up tab does the same for many products at once. Before you generate, a Product Lock tells the model what must stay exact: colour, shape, logo and text, and material. Be clear about the limit, though. The fidelity check that compares each result with your original only runs in the Guided single-photo and On a model studios, not in the one-tap Quick or Bulk clean-up tabs, so look at white-background results from those closely before you list them. Real photos need a sign-in, and the small free trial photos carry a watermark.
Whichever route you take, the shot you start with decides most of the result. A clean, evenly lit phone photo on a sweep gives any tool, manual or AI, less to guess.
A one-minute check before you upload
Run this on every main image, whatever produced it:
- Sample the corners. Open the photo in any editor with a colour picker and check all four corners and the area right next to the product. Each should read 255, 255, 255. “Looks white” on a bright phone screen is not the same thing.
- Hold the product next to the screen. Compare colour in daylight. If the photo is a shade off, fix it now; a buyer notices a wrong colour before anything else.
- Read the logo and any text letter by letter. Cleanup tools, AI ones especially, are worst at small type.
- Zoom into the edges. Look for a grey or white halo, cut-off fabric fibres and missing chunks of transparent parts.
- Check the size and the crop. Meet the marketplace’s minimum and keep the product filling most of the frame, with a consistent margin across the whole set.
- Nothing extra on the main image. No props, no text, no badge. Those belong on secondary images.
When to stop doing this by hand
The phone-and-window method is right for a shop with tens of products. At a few hundred SKUs, or a catalogue that changes every week, the bottleneck becomes consistency and checking, not shooting: the same crop, the same white, and a reliable way to catch the one photo in two hundred where the product came out wrong.
That is a pipeline problem, and it is the kind of thing we build: image-processing tools with an automatic quality check around the model, so a drifted photo is caught before it is listed. If your catalogue has reached that point, you can see our work and hire us through our Upwork agency profile, where every milestone is paid through escrow.
For everyone else: curve the card, use the window, overrule the exposure, and check the corners. That gets most products to a white background good enough for any marketplace.
Have a project in mind?